stella@honxin.net.cn
+86 13559557730

Email cannot be empty
Password cannot be empty
Email format error
Email cannot be empty
Email already exists
6-20 characters(letters plus numbers only)
The password is inconsistent
Email format error
Email cannot be empty
Email does not exist
6-20 characters(letters plus numbers only)
The password is inconsistent

Creating custom embroidered patches is a fascinating process that combines artistry, craftsmanship, and technology. These patches, often used for branding, decoration, or personal expression, can transform ordinary garments and accessories into unique, eye-catching pieces. This blog will take you through the steps and considerations involved in designing custom embroidered patches, offering insights and tips to make your project successful.
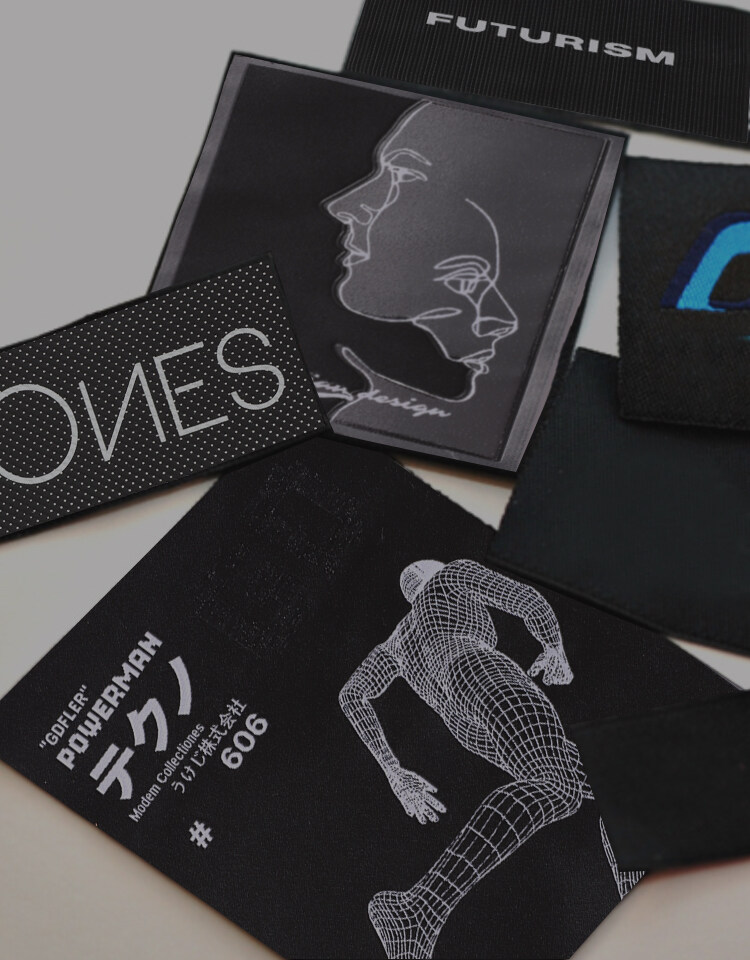
Custom embroidered patches are beloved for their versatility and durability. They can be sewn onto jackets, hats, bags, uniforms, and more, adding a personal touch or conveying a specific message. Whether you're a business looking to enhance your brand, a club wanting to foster a sense of belonging, or an individual eager to showcase your creativity, custom embroidered patches are an excellent choice.
Every great patch starts with a concept. Consider the purpose of your patch. Is it for a sports team, a corporate event, or a fashion statement? Think about the emotions and messages you want to convey. Sketch out your ideas, keeping in mind that simplicity often works best for embroidered designs. Complex details can get lost in the stitching process, so focus on clear, bold elements.
Once you have a concept, it's time to create the design. This can be done using graphic design software like Adobe Illustrator or Photoshop. If you're not comfortable with these tools, many patch manufacturers offer design services to help bring your vision to life. Ensure your design includes:
- Colors: Choose colors that stand out and complement each other. Most patches are limited to a specific number of thread colors, so pick wisely.
- Size: Determine the dimensions of your patch. Remember that smaller patches require simpler designs to remain legible.
- Details: Focus on the essential elements. Text should be readable, and images should be recognizable.
The next step is to digitize your design. This involves converting your artwork into a digital file that embroidery machines can read. This process, known as digitizing, translates your design into stitches, specifying the stitch type, direction, and length. Skilled digitizers ensure that the final embroidered patch closely matches the original design.
The quality of your custom embroidered patches depends heavily on the materials used. Here are some key components to consider:
- Fabric: The base fabric of the patch can be twill, felt, or another durable material. The choice of fabric affects the patch's texture and durability.
- Thread: High-quality embroidery thread ensures vibrant colors and longevity. Polyester and rayon are common choices for their strength and sheen.
- Backing: Decide on the type of backing you need. Options include iron-on, sew-on, adhesive, and Velcro. Each has its benefits depending on how and where the patch will be applied.
With your design digitized and materials chosen, it's time for production. Embroidery machines, guided by the digitized file, stitch your design onto the chosen fabric. This stage requires precision and attention to detail to ensure that each patch meets quality standards.
Quality control is crucial in the production of custom embroidered patches. Each patch should be inspected for consistency in color, stitching, and overall appearance. Any defects or inconsistencies must be addressed before the patches are shipped out.
Once your patches are ready, it's time to apply them. Here are some popular methods:
- Sew-On: Traditional and secure, sew-on patches are stitched onto the fabric, providing a permanent attachment.
- Iron-On: These patches have a heat-activated adhesive backing, making them easy to apply with a household iron.
- Velcro: Ideal for uniforms and other items that require frequent patch changes, Velcro-backed patches are versatile and convenient.
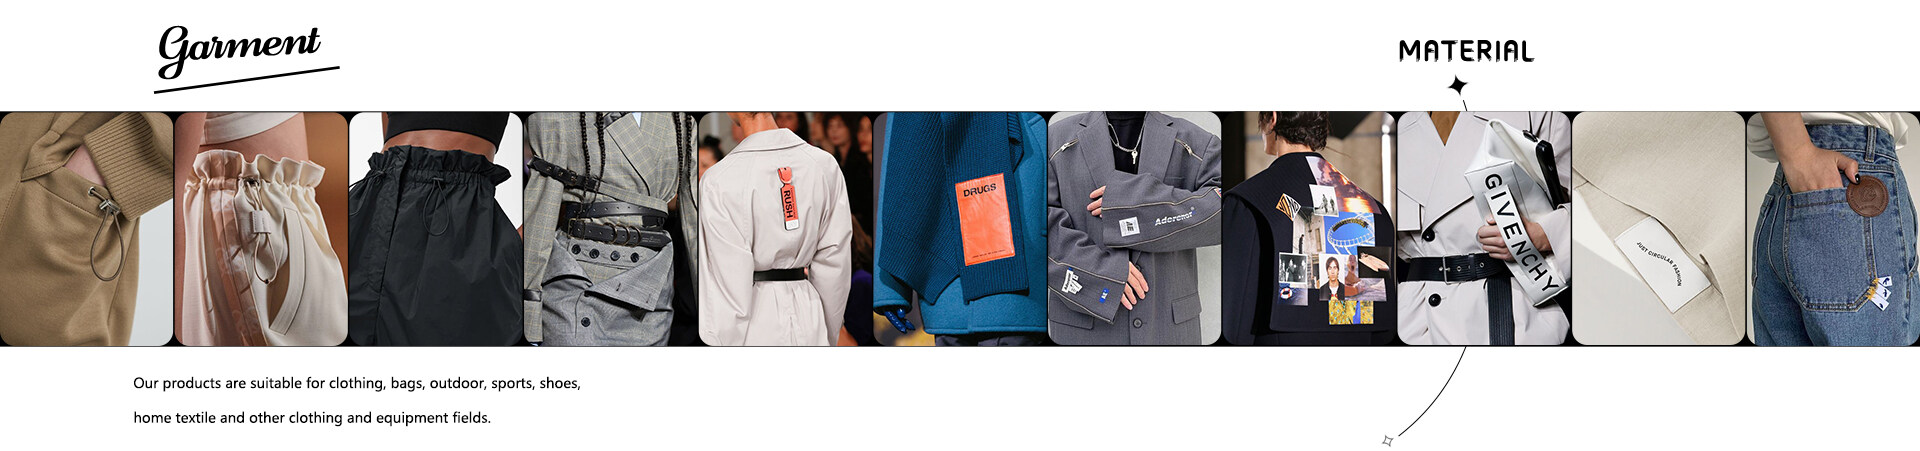
The possibilities for using custom embroidered patches are endless. Here are some creative ideas:
- Branding: Companies can use patches to promote their brand, adding them to employee uniforms or merchandise.
- Clubs and Teams: Sports teams, scouting groups, and clubs can foster unity and pride with custom patches.
- Fashion: Designers and fashion enthusiasts use patches to add flair to clothing and accessories, creating one-of-a-kind pieces.
- Collectibles: Patches can commemorate events, milestones, or achievements, becoming cherished keepsakes.
- Gifts: Personalized patches make thoughtful and unique gifts for friends and family.
Selecting the right manufacturer is a crucial step in ensuring the success of your custom embroidered patch project. Here’s what to consider when choosing a manufacturer:
Experience: Look for a manufacturer with a solid track record in producing high-quality embroidered patches. Experience often translates into expertise in handling different designs and materials.
Portfolio: Review the manufacturer’s portfolio to assess the quality of their previous work. This will give you an idea of their capabilities and help you gauge their skill level.
Customer Service: Choose a manufacturer known for excellent customer service. They should be responsive, willing to answer your questions, and provide guidance throughout the process.
Reviews and Recommendations: Check reviews and ask for recommendations from others who have worked with the manufacturer. Positive feedback and referrals can be good indicators of reliability.
Custom embroidered patches continue to evolve with trends in fashion and design. Here are some current trends to consider:
Eco-Friendly Materials: With growing awareness of environmental issues, many manufacturers now offer eco-friendly materials for patches. These include recycled fabrics and threads.
3D Embroidery: Adding a three-dimensional effect to your patches can create a striking, textured look that stands out.
Glow-in-the-Dark Threads: For a fun and unique twist, some patches use glow-in-the-dark threads that make your design visible in low light.
Metallic Threads: Incorporating metallic threads into your design adds a touch of elegance and can make your patch shimmer.
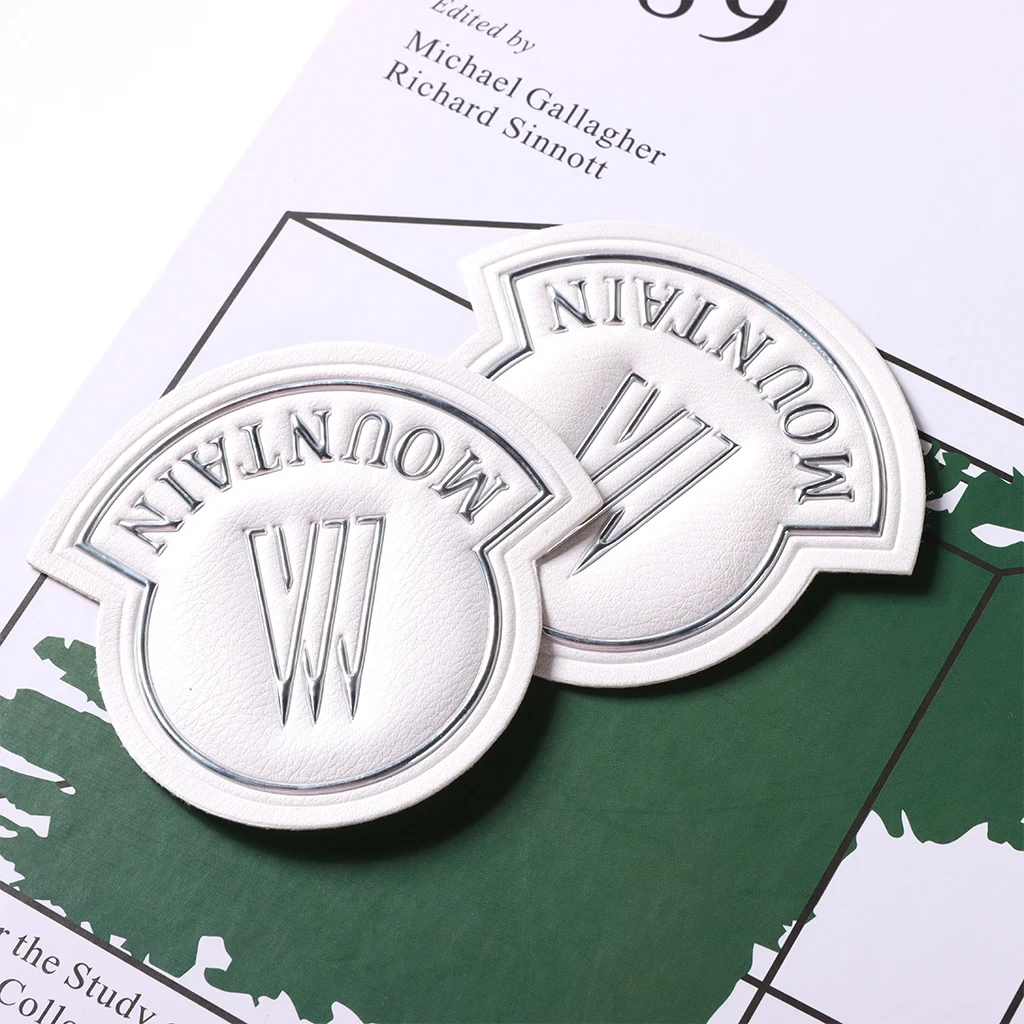
Custom Shapes: While traditional patches are often round or rectangular, custom shapes allow for more creative designs and unique appearances.
To ensure the longevity of your custom embroidered patches, proper care is essential. Here are some tips for maintaining their appearance:
Washing: If your patch is sewn onto a garment, follow the care instructions for that garment. Generally, it's best to wash in cold water and avoid harsh detergents.
Drying: Air drying is recommended to prevent heat from damaging the patch. If necessary, use a low-heat setting if you must use a dryer.
Avoiding Chemicals: Avoid exposing your patches to chemicals or bleach, as these can cause discoloration and damage.
Storage: Store garments with patches in a cool, dry place to prevent any wear and tear or damage.
Designing custom embroidered patches is a rewarding process that allows for endless creativity. From the initial concept to the final application, each step is an opportunity to create something truly unique. By understanding the intricacies of design, digitization, and production, you can bring your vision to life with vibrant, high-quality patches that stand out.
Whether you're new to the world of embroidered patches or a seasoned designer, this guide provides the foundation you need to embark on your creative journey. Embrace the possibilities and start designing custom embroidered patches that make a statement.